Growing Hollyhocks from Seeds: Lessons from 5 Years in the Garden
Hollyhocks are one of those flowers that instantly bring charm to a garden. After five years of gardening, I’ve learned that while they look easy to grow, hollyhocks come with their own set of challenges—especially when you start them from seeds. But trust me, once you get the hang of it, these beauties will reward you with towering stalks and stunning flowers year after year.
Here’s how I’ve learned to grow hollyhocks from seeds—and the lessons I’ve picked up along the way.
Timing Is Everything
When I first tried growing hollyhocks, I started my seeds too early in the spring and they got leggy before I could transplant them. Since then, I’ve learned to wait until mid-spring when the days are getting longer and the soil has warmed up a bit. I also sow my seeds directly in the garden if possible, but if you’re like me and can’t resist an early start, use seed trays indoors. Just make sure to give them enough light.
My Spring Sowing Routine:
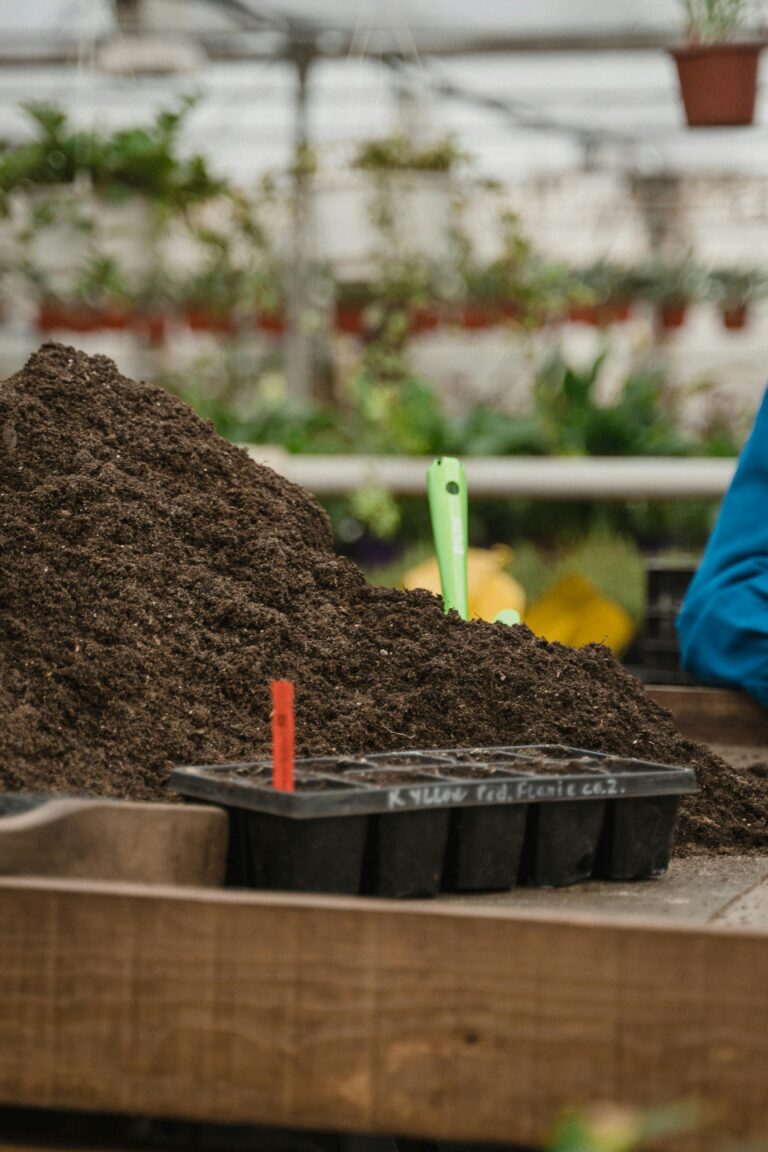
- Start Indoors: If it’s still too chilly outside, I sow the seeds in trays filled with peat-free compost.
- Watering: Keep the compost moist but not soggy—hollyhocks don’t like wet feet.
- Germination: They usually sprout in about two weeks. That’s when I make sure to give them plenty of sunlight to prevent them from getting too spindly.
Pro Tip: I place my seedlings outside for a few hours each day before transplanting them into the garden. This “hardening off” makes them stronger and less likely to be shocked by the move outdoors.
Hollyhocks Like to Self-Seed
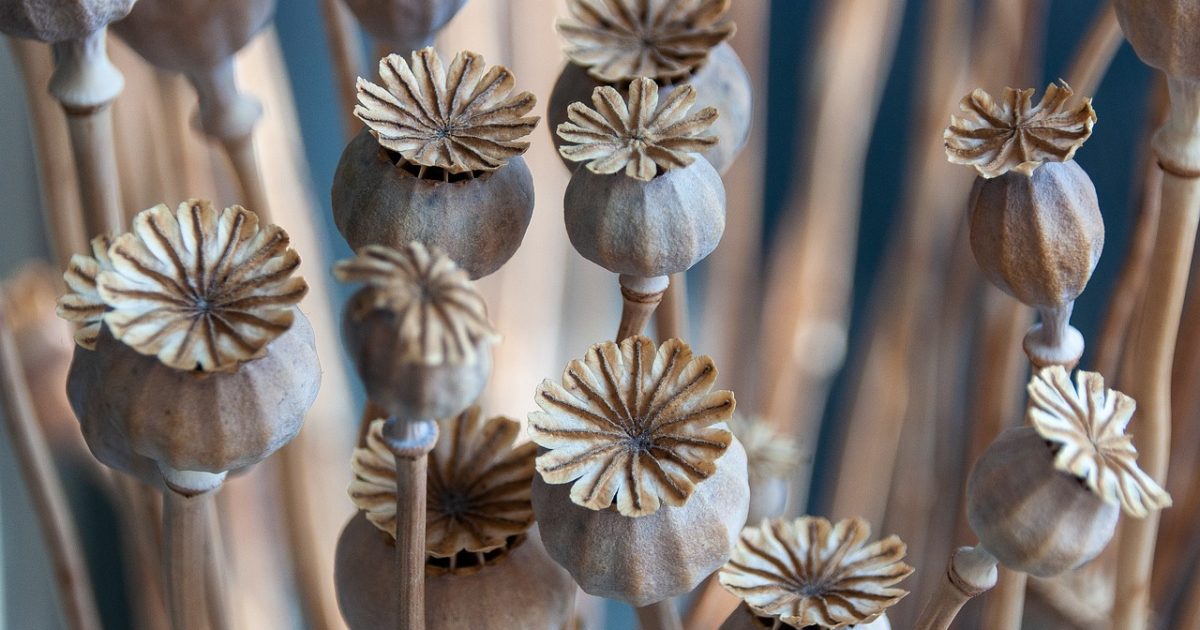
One thing I love about hollyhocks? Once they’re established, they tend to self-seed. I learned this the hard way when I forgot to deadhead the flowers one summer, and the following spring, I had a bunch of tiny seedlings popping up in random spots. Now, I let the plants self-seed on purpose, but I make sure to pull out any seedlings that show up where I don’t want them.
Pro Tip: If you want to encourage self-seeding, just leave the flower spikes on the plant until the seeds have developed. Then, let nature do its thing!
Dealing with Hollyhock Rust
Here’s the tricky part: hollyhocks are prone to rust, a fungal disease that leaves orange spots on their leaves. My first hollyhocks were hit hard by rust, and I had no idea what to do. Now, I check my plants regularly and remove any affected leaves before the rust spreads. It also helps to water the base of the plants rather than getting the leaves wet.
Pro Tip: I’ve found that spacing the plants further apart increases airflow, which helps keep the rust at bay.
Planting and Transplanting Tips
When it comes to planting hollyhocks from seeds, I’ve learned that they prefer a sunny spot with well-drained soil. They don’t do well in soggy conditions, so if you have heavy soil like I do, adding a bit of grit or sand helps improve drainage. I always dig in some compost before planting, which seems to give the plants a great start.
When transplanting, handle the seedlings carefully. Hollyhocks have long taproots that don’t like being disturbed, so I try to transplant them before they get too big.
Pro Tip: If you’re dealing with heavy soil, plant hollyhocks in raised beds to give them better drainage.
Hollyhocks and Pollinators
One of the best things about hollyhocks is how much the bees love them. I stick with single varieties (not the double blooms) because they’re more accessible for pollinators. Plus, there’s something about seeing bees buzz around the garden that just makes it feel more alive.
So, if you’re thinking about growing hollyhocks from seeds, don’t be afraid to give it a go. They’re not the easiest flower in the garden, but with a little patience and some problem-solving, you’ll be rewarded with beautiful blooms that come back year after year. And once they start self-seeding, you’ll have hollyhocks for seasons to come!

